/filters:quality(75)/mediadev/media/menu-pics/menu_banner_mobile.png)
/filters:quality(75)/mediadev/media/menu-pics/all-porcelain.jpg)
/filters:quality(75)/mediadev/media/menu-pics/luxury-italian.jpg)
/filters:quality(75)/mediadev/media/menu-pics/premium-italian.jpg)
/filters:quality(75)/mediadev/media/menu-pics/budget-porcelain.jpg)
/filters:quality(75)/mediadev/media/menu-pics/large-format-porcelain.jpg)
/filters:quality(75)/mediadev/media/menu-pics/wood-effect-porcelain.jpg)
/filters:quality(75)/mediadev/media/menu-pics/porcelain-planks.jpg)
/filters:quality(75)/mediadev/media/menu-pics/porcelain-setts.jpg)
/filters:quality(75)/mediadev/media/menu-pics/browse-all-paving.jpg)
/filters:quality(75)/mediadev/media/menu-pics/driveway-paving.jpg)
/filters:quality(75)/mediadev/media/menu-pics/interior-tiles.jpg)
/filters:quality(75)/mediadev/media/menu-pics/stone-effect-porcelain.png)
/filters:quality(75)/mediadev/media/menu-pics/wood-effect-porcelain.png)
/filters:quality(75)/mediadev/media/menu-pics/grey-porcelain.png)
/filters:quality(75)/mediadev/media/menu-pics/beige-porcelain.png)
/filters:quality(75)/mediadev/media/menu-pics/dark-porcelain.png)
/filters:quality(75)/mediadev/media/menu-pics/light-porcelain.png)
/filters:quality(75)/mediadev/media/menu-pics/patio-grout.jpg)
/filters:quality(75)/mediadev/media/menu-pics/primers.jpg)
/filters:quality(75)/mediadev/media/menu-pics/porcelain-blades.jpg)
/filters:quality(75)/mediadev/media/menu-pics/pedestals.jpg)
/filters:quality(90)/mediadev/media/menu-pics/drainage.jpg)
/filters:quality(90)/mediadev/media/menu-pics/cleaners.jpg)
/filters:quality(75)/mediadev/media/menu-pics/all-stone-paving.jpg)
/filters:quality(75)/mediadev/media/menu-pics/all-sawn-paving.jpg)
/filters:quality(75)/mediadev/media/menu-pics/all-riven-paving.jpg)
/filters:quality(75)/mediadev/media/menu-pics/indian-sandstone.jpg)
/filters:quality(75)/mediadev/media/menu-pics/limestone-paving.jpg)
/filters:quality(75)/mediadev/media/menu-pics/granite-paving.jpg)
/filters:quality(75)/mediadev/media/menu-pics/slate-paving.jpg)
/filters:quality(75)/mediadev/media/menu-pics/yorkstone-paving.jpg)
/filters:quality(75)/mediadev/media/menu-pics/portland.jpg)
/filters:quality(75)/mediadev/media/menu-pics/stone-pavers.jpg)
/filters:quality(75)/mediadev/media/menu-pics/cobbles-setts.jpg)
/filters:quality(75)/mediadev/media/menu-pics/plank-paving.jpg)
/filters:quality(75)/mediadev/media/menu-pics/paving-circles.jpg)
/filters:quality(75)/mediadev/media/menu-pics/bespoke-paving-1.jpg)
/filters:quality(75)/mediadev/media/menu-pics/edging-stones-1.jpg)
/filters:quality(75)/mediadev/media/menu-pics/prestige-stone.jpg)
/filters:quality(75)/mediadev/media/menu-pics/grey-blue-stone.png)
/filters:quality(75)/mediadev/media/menu-pics/swatch-black-dark.jpg)
/filters:quality(75)/mediadev/media/menu-pics/swatch-buff-beige-white.jpg)
/filters:quality(90)/mediadev/media/menu-pics/sealants.jpg)
/filters:quality(75)/mediadev/media/menu-pics/all-clay-paving.jpg)
/filters:quality(75)/mediadev/media/menu-pics/alpha-clay-pavers.jpg)
/filters:quality(75)/mediadev/media/menu-pics/cottage-garden-clay-pavers.jpg)
/filters:quality(75)/mediadev/media/menu-pics/kessel-garden-clay-pavers.jpg)
/filters:quality(75)/mediadev/media/menu-pics/artisan-clay-pavers.jpg)
/filters:quality(75)/mediadev/media/menu-pics/grey-blue-clay-paver.png)
/filters:quality(75)/mediadev/media/menu-pics/red-brown-clay-pavers.png)
/filters:quality(75)/mediadev/media/menu-pics/beige-buff-clay-pavers.png)
/filters:quality(75)/mediadev/media/menu-pics/composite-decking.jpg)
/filters:quality(75)/mediadev/media/menu-pics/designboard-decking.jpg)
/filters:quality(75)/mediadev/media/menu-pics/classic-designboard.jpg)
/filters:quality(75)/mediadev/media/menu-pics/brushed-designboard.jpg)
/filters:quality(75)/mediadev/media/menu-pics/grooved-designboard.jpg)
/filters:quality(75)/mediadev/media/menu-pics/millboard-decking.jpg)
/filters:quality(75)/mediadev/media/menu-pics/grey-decking.jpg)
/filters:quality(75)/mediadev/media/menu-pics/black-charcoal-decking.jpg)
/filters:quality(75)/mediadev/media/menu-pics/brown-decking.jpg)
/filters:quality(75)/mediadev/media/menu-pics/all-build-deck.png)
/filters:quality(75)/mediadev/media/menu-pics/all-vertical.jpg)
/filters:quality(75)/mediadev/media/menu-pics/luxury-designclad.jpg)
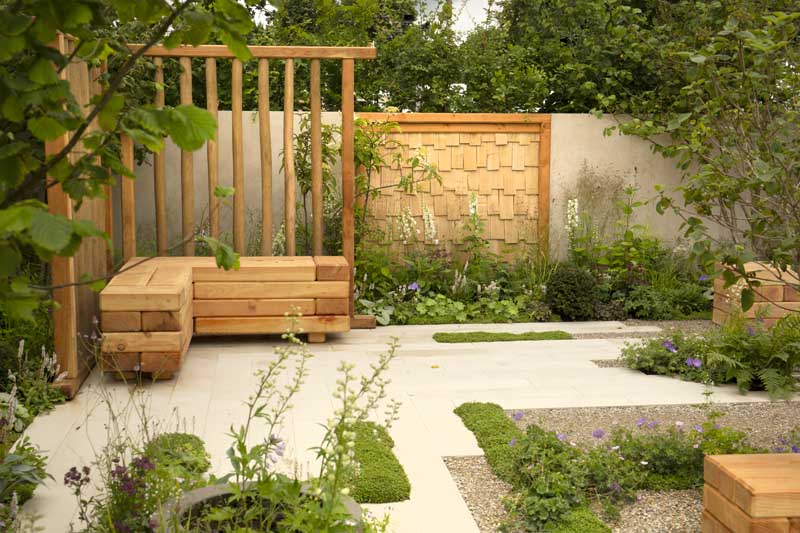
/filters:quality(75)/mediadev/media/menu-pics/stone-cladding.jpg)
/filters:quality(75)/mediadev/media/menu-pics/all-garden-walling-1.jpg)
/filters:quality(75)/mediadev/media/menu-pics/facing-bricks.jpg)
/filters:quality(75)/mediadev/media/menu-pics/garden-screening.jpg)
/filters:quality(75)/mediadev/media/menu-pics/menu_Garden_banner_desk.png)
/filters:quality(75)/mediadev/media/menu-pics/all-steps-coping.jpg)
/filters:quality(75)/mediadev/media/menu-pics/stone-garden-steps.jpg)
/filters:quality(75)/mediadev/media/menu-pics/sawn-steps.jpg)
/filters:quality(75)/mediadev/media/menu-pics/riven-steps.jpg)
/filters:quality(75)/mediadev/media/menu-pics/yorkstone-steps.jpg)
/filters:quality(75)/mediadev/media/menu-pics/bespoke-steps.jpg)
/filters:quality(75)/mediadev/media/menu-pics/porcelain-steps.jpg)
/filters:quality(75)/mediadev/media/menu-pics/off-the-shelf.jpg)
/filters:quality(75)/mediadev/media/menu-pics/stone-coping.jpg)
/filters:quality(75)/mediadev/media/menu-pics/sawn-coping.jpg)
/filters:quality(75)/mediadev/media/menu-pics/riven-coping.jpg)
/filters:quality(75)/mediadev/media/menu-pics/yorkstone-coping.jpg)
/filters:quality(75)/mediadev/media/menu-pics/bespoke-coping.jpg)
/filters:quality(75)/mediadev/media/menu-pics/stone-pier-caps.jpg)
/filters:quality(75)/mediadev/media/menu-pics/porcelain-coping.jpg)
/filters:quality(75)/mediadev/media/menu-pics/all-bespoke-services.jpg)
/filters:quality(75)/mediadev/media/menu-pics/bespoke-paving-2.jpg)
/filters:quality(75)/mediadev/media/menu-pics/bespoke-steps-1.jpg)
/filters:quality(75)/mediadev/media/menu-pics/bespoke-coping-1.jpg)
/filters:quality(75)/mediadev/media/menu-pics/edge-profiles.jpg)
/filters:quality(75)/mediadev/media/menu-pics/masonry-services.jpg)
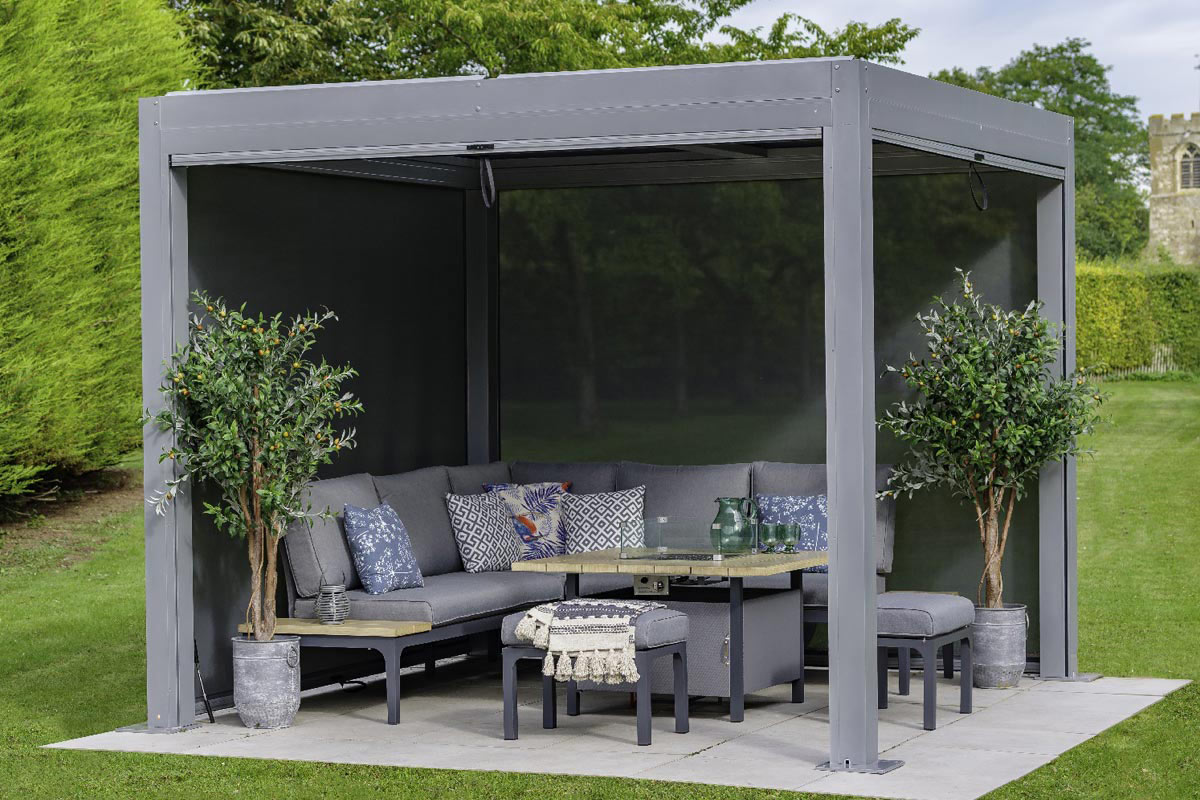
/filters:quality(75)/mediadev/media/menu-pics/deluxe-pergolas.jpg)
/filters:quality(75)/mediadev/media/menu-pics/proteus-pergolas.jpg)
/filters:quality(75)/mediadev/media/menu-pics/corten_planter_menu.png)
 Trade Discount Available
 FREE Nationwide Delivery
 Nationwide Showrooms
 Live Stock Levels
 Split Packs Available
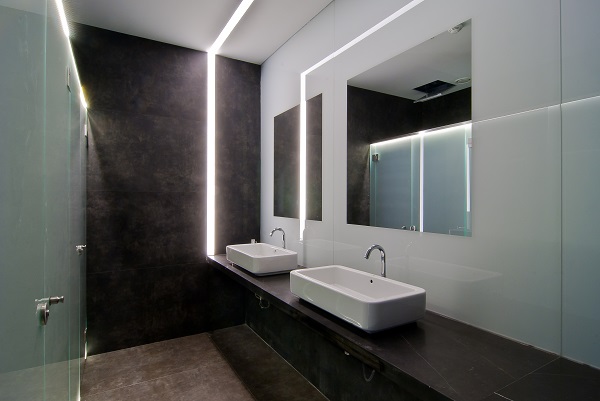
Bathroom cladding is a stunning contemporary choice - sleek and stylish with the added benefit of being very easy to keep clean. Our DesignClad is an ideal choice.
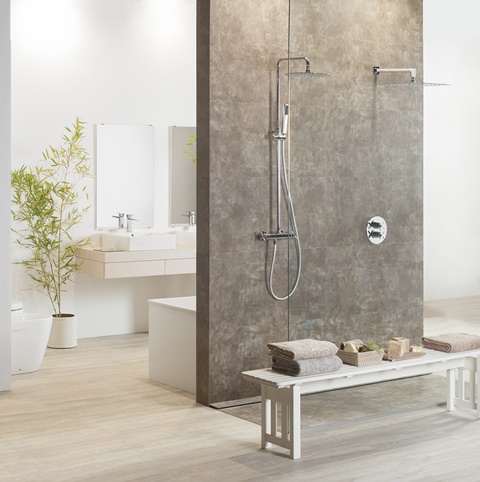
Here we give you an easy step-by-step guide to installation. Of course, nothing compares to getting help from a professional, but this basic guide is here to help you understand the process. If you're not yet sure whether to opt for DesignClad, take a look at the benefits of bathroom cladding for showers.
Step 1
Your first step is to remove the old shower. Begin by locating all the studs; this step will save you time in the future. Remove as much of the old shower as you can without damaging anything that you want to keep for your new shower installation.
Step 2
Next, you will want to make sure that the walls are all flat and level. If your wall is not flat your tiles will look uneven. Check the wall for any high or low spots. Use a long flat edge to check the wall both horizontally and vertically for any unevenness. Any high spots in the walls will need to be shaved down to create an even surface and low spots will need to be skimmed. It is particularly important to ensure that the walls will be flush where they meet in the corner.
It is essential to get this step right as you are laying the foundation for your tiles. This step will impact how professional the job will look once completed.
Step 3
The next stage is to move onto the plumbing. This is the perfect opportunity to remove and replace any old valves or move the positioning of your shower head. Hiring a plumber at this point may be a good choice.
Step 4
Your next step is to install the wall sheeting. This serves as a waterproof barrier as well as a rigid back for your tiles. Firstly, choose the correct thickness and size for your boarding. Measure your space and cut the boards to size using a razor knife or straight edge. Use special screws and washer to screw the board to the walls. Apply the boards to all surfaces that are to be tiled. When you get to the shower valves cut the board to fit; measure carefully but the holes do not have to be perfect.

Step 5
Waterproofing the shower is the next step. This step is essential as it will eliminate the chance of water getting behind the wall and causing rot or mould. Use a high-quality sealant to seal around the plumbing and fixtures. Your goal is to create a flat, waterproof surface. Depending on your design, you should consider waterproofing the ceiling also.
Step 6
Before you begin laying, plan out your bathroom cladding layout. Find the best place to start so that your porcelain sheets requires minimal cutting. Draw up a diagram, with measurements, to get your exact design. Remember to take into account room for tile spacers. Use a pencil to mark a cross to guide your installation.
Step 7
Install a ledger board. This will support the first row of tiles and prevent them from slipping down. Ensure that the ledger board is installed perfectly level all the way around.
Step 8
Finally, it is time to start laying your tiles. Mix a batch of thinset mortar and apply it to the walls using a trowel. The bigger your DesignClad pieces, the bigger you will want the notch of your trowel to be. Spread the thinset over a small section at a time, so that it does not begin to harden. Spread the layer consistently and make sure your trowel lines are parallel. Start in the centre of your section of thinset and place the first tile. Carefully press each of the tiles into the wall and ensure a consistent bond is made with the wall. Make any adjustments whilst the thinset is still wet. Position your tile spacers to create grout joints. Continue working your way up the walls, section by section.
If you need to cut any tiles, use a manual tile cutter or a wet table saw. Features in your shower may require intricate cuts; a diamond blade can be used to cut these holes.
Step 9
Once you have finished tiling, wait 24 hours for the thinset to cure and then apply your grout. Mix up your grout and apply using a float. Use the float to wipe the grout on to the walls, pushing the grout into the joints to fill them. Wipe off any excess grout with a damp sponge. Again, complete this process section by section.
Step 10
Apply your caulk. Use a caulk that matches your grout, and a clear caulk for around your shower fixtures. Caulk all the inside corners of the tiles and between the ceiling and tiles.
Step 11
Your final step is to seal the grout. Use a penetrating grout sealer and apply this over your grout.
You can now install your plumbing fixtures and enjoy your new bathroom. Find out more on how to use DesignClad indoors, and find your perfect bathroom cladding in our Luxury and Premium ranges.
Updated: January 2023