Read this simple guide to remind yourself of the steps required when laying porcelain tiles indoors or to learn more about this interesting process.
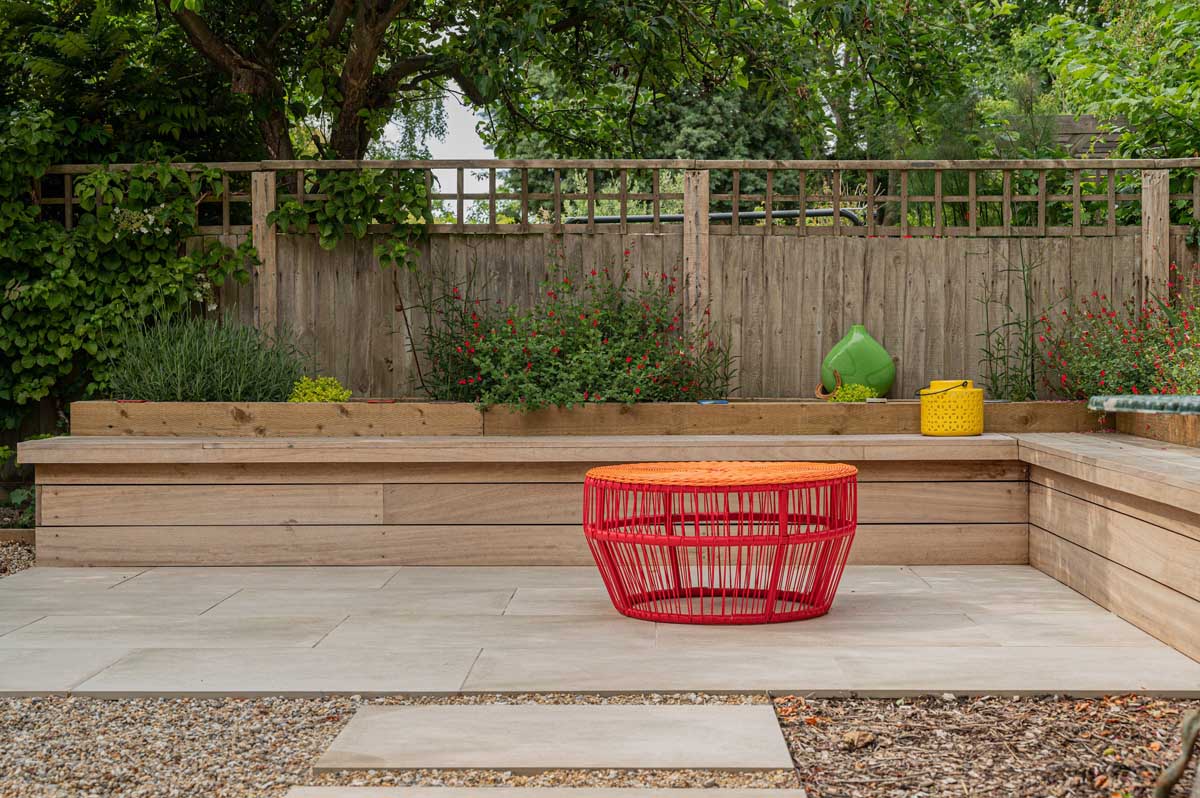
We don't sell interior tiles, but many of our customers use them as part of Indoor Outdoor living, so this is information to give you an idea of what's involved. For best results, we recommend consulting a professional before attempting to lay tiles yourself.
What you need
- Your tile of choice
- Tile adhesive or "mastic"
- A notched trowel
- A tile saw or a tile scorer
- A diamond hole saw to cut out radiator pipes and other holes
- Grout - find the right pointing for your indoor tiles
- Rubber float
- Tape measure or digital laser tape
- Bucket with warm water
- Sponge
- Level
- Chalk line
- Pencil
- Tile spacers
- Plywood
- Levelling compound
- Backer board
Planning and Preparation
Step 1
Lay the foundation. You will want to start with plywood and then add a levelling compound if it is required.
Step 2
You will need to lay backer board. This should be either made of polystyrene covered with fibreglass mesh or, preferably, cement sheet. This is moisture-resistant and should always be used where tiles will become wet. This will prevent the tiles from popping off.
Step 3
Next you should determine the size of the room to be tiled or re-tiled. The number of tiles you need will depend on the size of the tile you wish to lay, as well as the laying pattern you’d like on the floor. Use a tape measure or digital laser tape to measure accurately.
Step 4
Decide on your tile size and pattern. Tiles can be laid in different patterns; for example, use a traditional grid design, or a herringbone or basket weave for more interest. There are plenty of options to choose from.
Step 5
Pick a tile; with our extensive range you are only limited by your imagination. This is a very individual choice and will be a matter of what décor you are intending for your space. At this point you should also consider what colour grout to use. For help with this decision, see the grout styling tips in our wall and floor tile information.
Step 6
Create a smooth surface with a levelling compound to iron out any divots, holes, or differences in subflooring. You are now ready to begin tiling.
Setting up
Step 1
Find the centre point of your room; this will be where you lay your first tile. Use a measuring tape and mark the middle point with a pencil or chalk, drawing a cross at the centre of the room.
Step 2
Rehearse your laying pattern, laying out your tiles without using any adhesive or glue. Starting at your centre point and working one quadrant at a time, lay out your pattern, leaving a small space in between the tiles.
Step 3
If there are any pipes or other items the tiles will need to fit over, pre-drill these required holes now. Use a diamond hole saw to bore into the tile and drill a perfect hole or a wet tile saw to cut a square hole in the centre of the tile.
Once your laying pattern has been rehearsed, tiles have been measured and cut, and all is to your liking, you are ready to lay the adhesive.
Spreading Adhesive, or Mastic, and Laying Tiles
Step 1
On your prepared surface, begin spreading the adhesive with the notched trowel. Again, you should start at the centre point and work one quadrant at a time, following the pattern you have rehearsed. Spread the adhesive evenly. Then, using the notched edge, make grooves in the adhesive, not too deep nor too shallow.
Set the first tile in the centre point, pressing the tile down. Position a tile spacer, then continue with the additional tiles. Use your level to check the tiles as you go along. If the tile is slightly uneven, you can adjust this by either manipulating the tile or adding a little more adhesive. Once a quadrant is complete, remove the tile spacers so they do not set into the adhesive.
Step 2
Once your tiles have begun to set, wait at least a day, to allow the adhesive to dry, or cure.
Grouting
Step 1
Use a rubber float to apply grout in a diagonal direction, pressing it into the joints to an even level with the tile. As before, you should be working in one quadrant at a time. Remove any excess grout with the float and wait a few minutes for the grout to begin to stiffen in the joints. Use a damp sponge to remove grout haze from tiles and finish the joints. Be sure not to press too hard on the joints whilst doing this. As you work across your surface, check each joint is full and smoothly finished.
Step 2
Consider whether you need caulk. Tiles may expand or contract in temperature fluctuations; caulk can buffer expansion and contraction a bit.
Step 3
Allow the surface to cure for about a week before giving it a good mop to remove remaining grout haze. You may then choose to seal the grout with a sealer to lock out dirt and grease.
You tiling project is now complete!
Post updated: August 2023