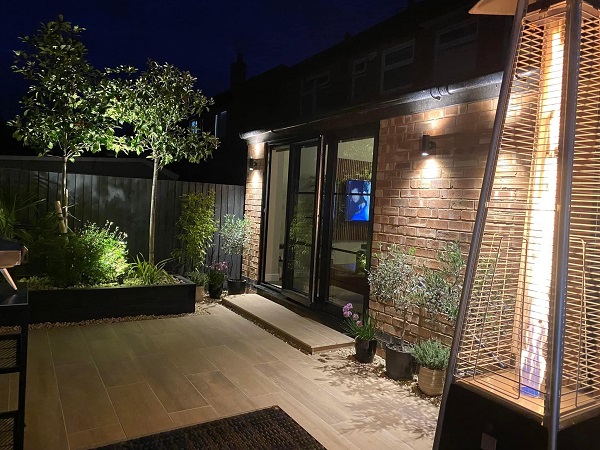
Porcelain patio tiles are a beautiful, hard-wearing paving option for any outdoor space but they need to be installed properly. Laying porcelain slabs to a high standard requires knowledge, experience, and the right equipment. Read our handy step-by-step guide for tips on how to lay porcelain slabs and achieve a professional, long-lasting finish.
How to lay porcelain slabs: before you start
Whilst laying porcelain paving slabs is similar to laying natural stone paving, there are important differences between the two materials. Porcelain paving can be laid using tile adhesive on a concrete sub base but in this guide, we’ll cover the traditional "landscapers'" installation method of using a mortar bed on top of an aggregate sub base.
If you are unsure of the right method to use, please contact a landscape specialist or a structural engineer for help and advice. Alternatively, speak to a member of our team and we will be happy to share our knowledge.
In this blog, we cover how to lay porcelain slabs outdoors. You’ll find:
- Guidance on the materials and tools you’ll need
- An in-depth, step-by-step guide to laying porcelain slabs
- Handy tips for each stage of the process
For laying tiles inside your home, look at our guide to laying porcelain tiles indoors.
For more information on our recommended approach, see the Tips on Laying Porcelain section at the bottom of the page.
Materials list
- Geotextile membrane
- MOT Type 1 (MOT Type 1 is a graded aggregate available from builders' merchants)
- Mortar (sharp sand and cement)
- Portland standard cement.
- SBR/slurry primer (SBR is like an outdoor version of PVA and is available from builders' merchants)
Tools
- Measuring tape
- Shovel
- Rubber mallet
- String line
- Tile spacers
- Spirit level
- Pointing trowel
- Stiff brush
- Cement mixer
- Buckets
- Sponges
- Hand held grinder
- Diamond cutting blade
Safety equipment
- Steel-toe capped boots
- Gloves
- Ear protection
- Eye Protection
- Dust mask
Choose the perfect laying pattern
One of the fun parts of laying porcelain slabs is deciding on your ideal laying pattern. The paving pattern has a big impact on the finished look of the patio and how it blends in with the surrounding garden and property, so its worth taking some time to consider which pattern best suits your property style. The main choice is between stack bond (in-line pattern) or running bond (staggered pattern), and your preference is likely to depend on whether your porcelain slabs are square or rectangular. Take a look at the paving pattern options.
Laying porcelain slabs: a step-by-step guide
In this next section, we'll take you through the entire process of laying porcelain patio slabs. As always, if you're unsure about anything, you should consider speaking to a landscape specialist or structural designer.
Step 1: Prepare the site
Before beginning the excavation, consideration must be given to the drainage requirements of any patio. A patio should never be laid flat. A "fall" should be added to the paving sot that rain water runs off. If a patio is laid without an adequate fall, rain water will sit on the surface, creating a slip hazard and providing an ideal habitat for algae and other organic growth to flourish.
Different falls are required for different paving materials. For example, a material with a heavily riven surface, like reclaimed York Stone, has the potential to hold water, so a fall of 1:60 would be needed. Porcelain is a flat material with light surface texture, so we recommend a fall of 1cm across every 80cm of patio (1:80).
Top tip: To calculate the fall on an area of paving, convert the ratio required to a number. Multiply the number by the size of the patio and then divide by 100 to find the fall in centimetres.
- Convert a fall of 1:80 to a number: 1/80 = 0.0125
- For a patio with a fall of 4 metres: 4 x 0.0125 = 0.05m
- 0.05 x 100 = 5cm
In the majority of cases, patios are drained away from the property, usually towards flower beds and lawns. This means that any water run-off can drain naturally into the soil without the need to install additional drainage. There are occasions when because of specific site conditions, a patio needs to fall towards the house. In these instances, a slot or channel drain should be installed to catch and divert the water and prevent it from building up against the property's brickwork.
Any paving project starts with a dig-out. The excavation depth should be equal to the thickness of the porcelain paving (usually 20mm + the mortar bed (30-50mm) + compacted MOT Type 1 sub base (100-150mm for a residential patio). If the patio is large and there is good access, it is worth considering hiring a mini digger. A mini digger will make the excavation much quicker and is much less strenuous on the body. Mini diggers can be hired from most good tool hire shops.
Whether digging out with a machine or by hand, remember to build the required fall into the excavation.
Step 2: Lay your sub base
Lay a geotextile membrane across the area that has been dug out. There is a misconception that the purpose of the geotextile membrane is to prevent weeds growing through the paving, but the real reason for using the membrane is to aid the stability and structure of the paving. The strength of the sub base comes from different sized aggregates (40mm down to dust) compacted together to form a solid layer. The addition of a membrane prevents fines from the sub base from washing into the soil substrate, which helps to maintain the integrity of the sub base.
Lay your MOT type 1 sub base and rake it out to the required levels. Then compact with a vibrating compacter plate (commonly referred to in the landscaping industry as a "whacker plate"). Remember to incorporate the fall into the sub base. For a patio that will only receive foot traffic, we recommend a minimum compacted depth of 100mm for the sub base. However, many of the landscapers we work with go up to 150mm. If the patio or driveway is expected to receive vehicle traffic, the compacted sub base depth should be increased to a minimum depth of 200mm.
Top tip: As you layer the MOT sub base, compact every 50-75mm to ensure full compaction throughout the whole sub base.
Step 3: Set out string lines
Don't rely on your eye to lay paving in straight lines. Always use a string line. The fall of the paving should also be incorporated into the string lines.
Top tip: it's a good idea to double-check your fall line by using a spirit level.
Step 4: Lay a full bed of mortar
Prepare a full bed of semi-wet mix by mixing sharp sand and cement to a ratio of 5:1. Enough water should then be added so that the mortar stays together in a ball when its squeezed together.
Top tip: Try to be as accurate as you can, especially if you are used to laying natural stone. Porcelain paving doesn’t allow as much leeway as stone when tamping down slabs to achieve their perfect level.
Step 5: Prime the first tile
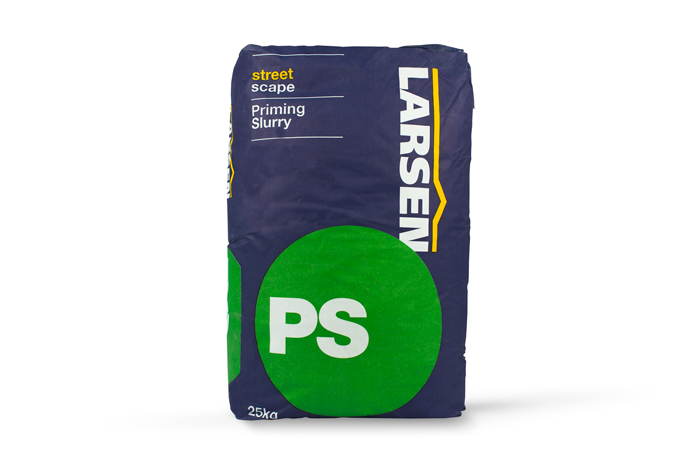
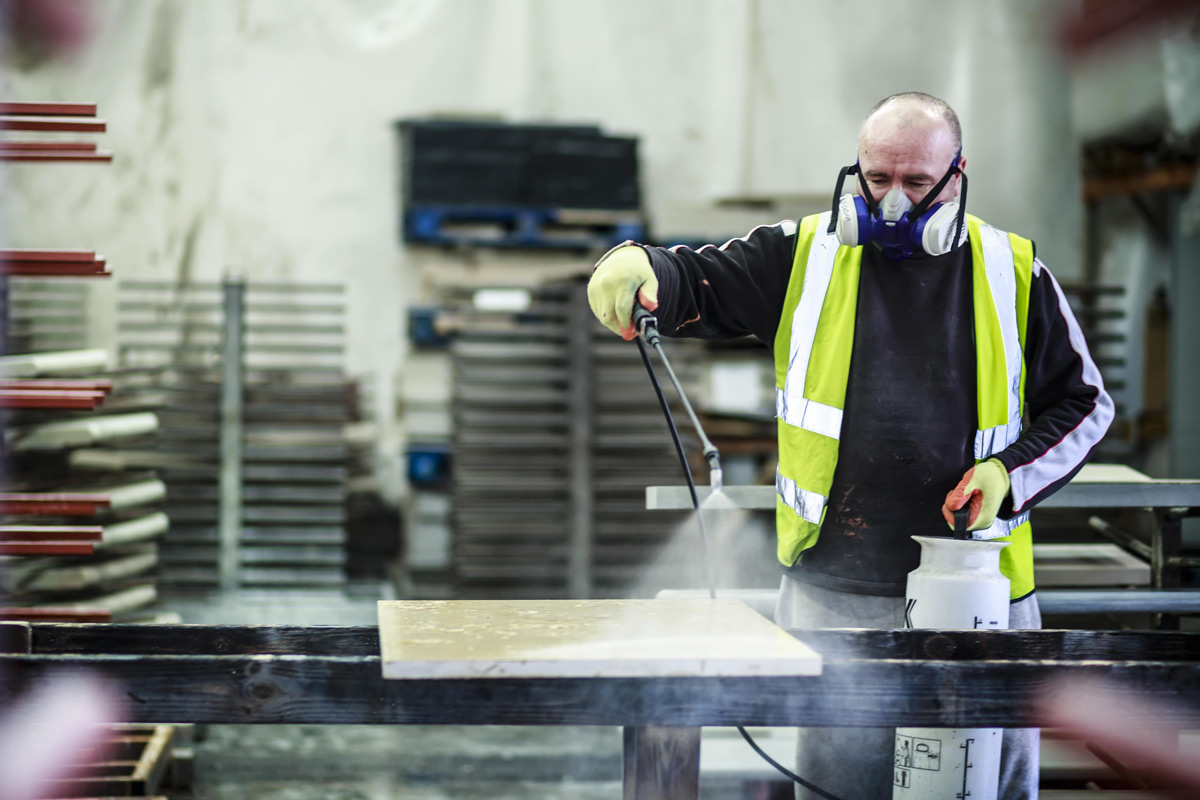
When installing ultra-low porosity materials, such as Porcelain, a primer must be used. Primers can be made by mixing SBR, cement and water but we would always recommend using a pre-mixed primer such as Larsen Streetscape PS Primer.
A thin layer of primer should be applied to the underside of the pavers with an exterior masonry brush immediately prior to the pavers being laid.
Top tip: To avoid accidentally transferring primer to the surface of the pavers during handling, we recommend that you do not apply primer right up to the edges of the underside of the paving. If primer does accidentally get onto the surface of the paving, it should be removed immediately with a sponge and clean water.
Step 6: Lay the first tile
Now it’s time to lay your first porcelain slab. You should gently tap the paver into place on the mortar bed with a rubber mallet. Check your levels as you go against your string lines with a spirit level.
We recommend a 5mm gap with porcelain paving. To ensure a consistent 5mm gap, it is strongly recommended to use tile spacers.
Top tip: Using a white-headed rubber mallet can reduce the chance of marking your slabs when tapping them into place. You should also remember not to hammer too hard, as this can damage your porcelain paving tiles.
Step 7: Lay and space rest of tiles
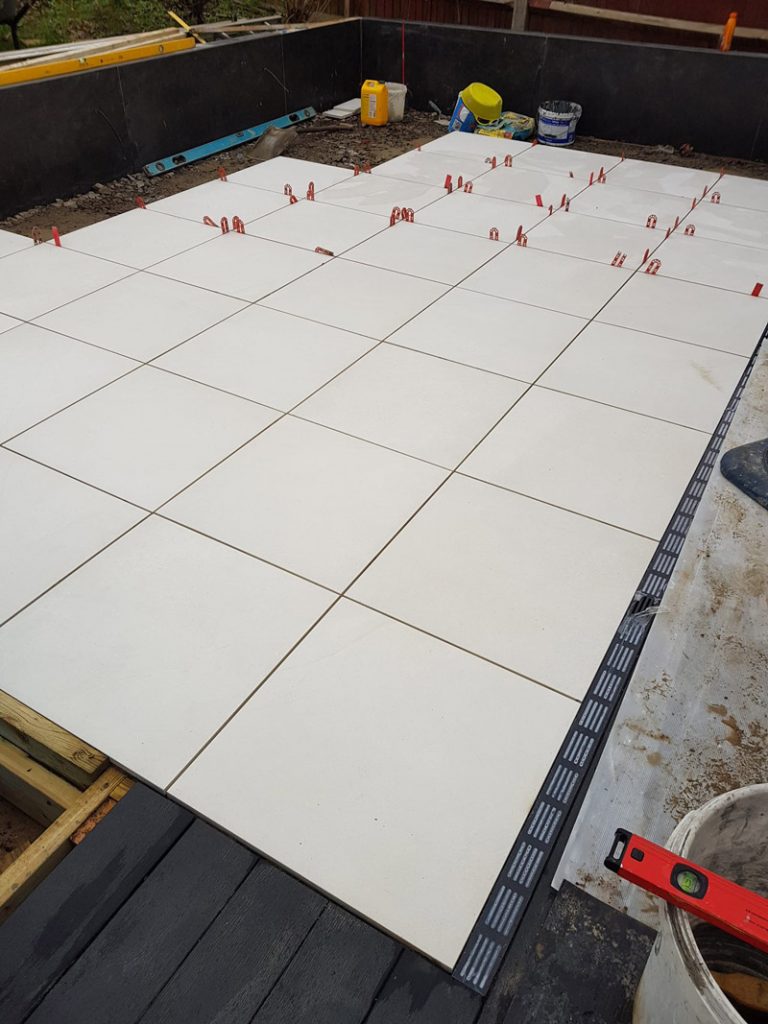
Next, you should repeat the previous step, carefully positioning each tile and inserting spacers before laying the next tile.
Top tip: Many landscapers are now using slab-laying tools, such as suction cups and vacuum lifters, to lay porcelain slabs.
Step 8: Grout your tiles
It’s important to use a good quality external tile grout. Read our extensive guide for more information on the best grout for porcelain slabs. London Stone supply grouting and primer in a wide range of colours to match our porcelain paving items.
Top tip: After grouting, wash down the surface of the patio several times to completely remove any left-over grout residue.
Other tips and tricks for laying porcelain tiles
Use a solid sub base
Don’t be tempted to cut corners at any stage. For a professional-looking, long-lasting patio, a solid sub base is essential. This is because any movement beneath your porcelain tiles will eventually cause cracking on the patio surface.
The bond bridge
Because porcelain paving is virtually non-porous, it’s necessary to apply a primer, so that slabs will adhere to the mortar base. If you omit this step, your paving will fail quite quickly after laying as tiles become loose. There are various situations when it's important to apply SBR and slurry primer, and laying dense paving materials is one of the most common reasons to do so.
Indoor tiles
Find out why we don't recommend using indoor tiles outdoors.
Cutting your porcelain slabs
When cutting your porcelain paving slabs, you should always use a specialist diamond-tipped porcelain blade as this will ensure clean cuts with minimal chipping.
Check out more cutting advice from experienced landscapers here.
Explore our exquisite collection of porcelain paving slabs

At London Stone, we have one of the UK's widest collections of porcelain paving.
Whether you're looking for dark, dramatic paving, a fresh, light colour or something that looks almost identical to natural stone but without the maintenance - we’re sure you'll find something to catch your eye within our collection.
Browse our vast selection of porcelain outdoor tiles now.